
How to Setup the Upgrade Motorsport Bias / Balance Bar and Cable
- Oct 27, 2025
- 3 min read
The motorsport brake bias balance bar and cable are the most effective tools for fine-tuning your braking performance in motorsport. Whether you’re building a race, rally, or track-day car, getting your brake balance setup correct can dramatically improve stability, corner entry control, and overall lap consistency.
This guide will walk you through how to setup the Upgrade Motorsport Bias Balance Bar and Cable System, ensuring your front-to-rear braking force is precisely adjustable and performs reliably under pressure.

What is a Brake Bias or Balance Bar?
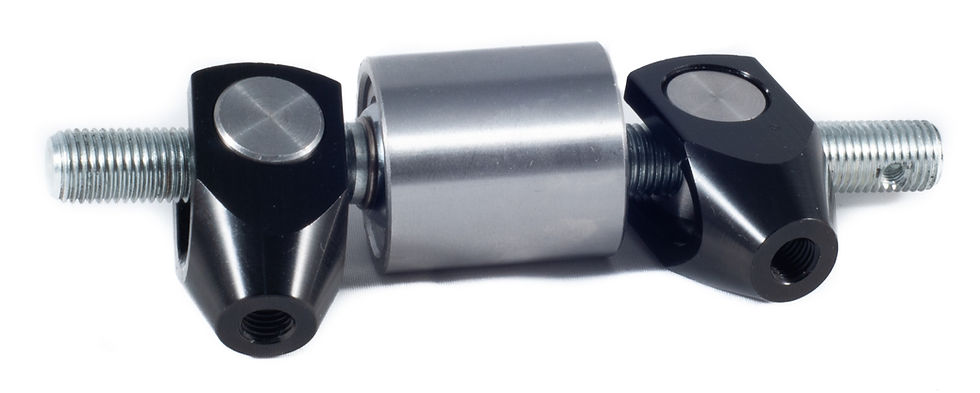
A brake balance bar allows you to mechanically adjust the pressure between the front and rear master cylinders in a dual-pedal box system. By altering the pushrod angles, you can control how much braking force is sent to the front and rear circuits.
More front bias = increased front braking force (safer, more stable under braking)
More rear bias = more rear braking force (useful for loose surfaces, drifting, or tighter rotation)
The Upgrade Motorsport Bias Bar and Remote Cable system lets you make these adjustments from the cockpit quickly and precisely — ideal for tuning during practice, qualifying, or a live session.

Components You’ll Need
Before you begin, make sure you have:
Upgrade Motorsport Bias / Balance Bar Assembly
Dual master cylinder pedal box
Front and rear master cylinders (e.g. 0.625" and 0.7" bore sizes)
Upgrade Motorsport Remote adjustment cable with knob and locking mechanism
Suitable tools: spanners, Allen keys, thread locking compound
Step 1 – Install the Bias Bar
Insert the balance bar through the brake pedal pivot tube.
Slide each master cylinder pushrod into position on either side of the bar.
Secure both pushrods using the bias bar pivot connection mechanism.
Ensure the bar rotates freely but has no excessive lateral play.
Apply a small amount of high-temperature grease to the pivot to reduce friction.
Tip: The bias bar must remain square when both master cylinders are at rest — this ensures equal preload.

Step 2 – Align and Adjust Pushrod Lengths
With the pedal in the neutral (unpressed) position, measure both pushrod lengths.
Adjust each pushrod until both master cylinder pistons engage simultaneously when the pedal is pressed.
Tighten the master cylinder locknuts securely once even engagement is confirmed.
Check: Uneven pushrod setup can cause premature lock-up on one circuit or spongy pedal feel.

Step 3 – Install the Remote Bias Cable
Thread the remote bias adjuster cable onto the bias bar’s threaded centre adjuster.
Route the cable neatly to the cockpit area, avoiding sharp bends or hot zones (e.g. near exhausts).
Secure the knob in an accessible location — ideally near the driver’s right hand.
Test full rotation in both directions to confirm smooth operation and no cable binding.
Note: One full turn of the knob typically equals a small pressure change between the front and rear circuits — adjust gradually during setup.

Step 4 – Mark and Record Bias Positions
Once installed, it’s good practice to mark the neutral (even bias) position on your dashboard label plate.
Then, during testing:
Turn clockwise to increase front bias.
Turn anti-clockwise to increase rear bias.
Tip: Record these positions and label them clearly for reference between tracks or weather conditions.

Step 5 – Test and Fine-Tune on Track
Begin with the bias set close to 60% front / 40% rear.
During test laps, observe brake behaviour:
Front lock-up first → Too much front bias.
Rear instability under braking → Too much rear bias.
Adjust one or two clicks at a time until you achieve balanced braking.
Race Tip: For wet or low-grip surfaces, increase front bias slightly for stability.
Maintenance and Safety
Regularly check for free movement in the bias bar.
Inspect cable routing and ensure the locking nut is secure.
Apply thread lubricant occasionally to prevent seizing.
Never make large adjustments while the car is moving — always fine-tune safely.
Conclusion
Setting up your Upgrade Motorsport Bias / Balance Bar and Cable System correctly is key to achieving perfect brake control. Once tuned, you’ll enjoy more predictable pedal feedback, improved handling balance, and faster, more confident braking — exactly what every competitive driver needs.
Explore our full range of bias valves, master cylinders, and hydraulic components at:
Disclaimer
To the fullest extent permitted by law, Upgrade Motorsport shall not be liable for any indirect, incidental, or consequential damages, including but not limited to loss of profits, injury, death or damage arising from the installation or use of our products. Always ensure your braking system is installed and tested by a qualified motorsport engineer.


Comments